Animation & rigging addon for Blender versions 4.0 to 5.0
“Kinematic switching so effortless, you can actually animate.“
The Kinematic Tool offers a massive improvement to the animation workflow around inverse kinematic/forward kinematic (IK/FK) switching:
- Revolutionary automatic FK to IK snapping.
- The first and last keyframes of IK ranges remain in IK, so they actually represent the first and last moments a limb makes contact with another object.
- IK ends have freely movable pivots, (especially useful for accurate footwork)
- The visibility of inactive kinematic chains can be toggled to provide a clean clutter-free workspace.
- Calculates motion paths on the deformation bones effortlessly (no need to dig down and reveal the deformation bones to setup motion paths)
Notice, also, I’m on on the last keyframe of an IK range. This frame actually represents the last moment of IK.
Like cool breeze on a hot summer day.
How did we even do it in the past?
The animation features can be accessed by rigging a 3-bone chain with the Kinematic Tool’s speedy rigging features:
- Assembles a complete IK/FK system on a 3-bone limb
- Determines IK pole angle and FK axis hinging
- Utilizes bone collections & bone custom properties (not bone names), so you can rename your bones freely
- Offers batch renaming for any limb assembled with the tool
- Provides simple operators for parenting to and from an assembled limb
- Limb augments – allows you to include bones in your limb assembly that, when posed, will also cause the FK chain to automatically snap to the IK chain (when at the ends of IK ranges)
- The FK chain of assembled limbs also come with a Follow Rotation ON/OFF
- Provides a way to disassemble a limb, removing the IK/FK features, drivers, bone collection, and bone custom properties, and dismantles it back to its original 3-bone chain
- Offers a free-standing Follow Rotation rigging feature for single bones (for toes, for instance)

You can also rename individual bones without affecting the system, because an assembled limb works off of bone collections & custom bone properties, not bone names.
If you make a change to your model, you can update the position of the entire limb without dismantling and re-assembling. Life is good.
Want to jump right into animating with the Kinematic Tool?
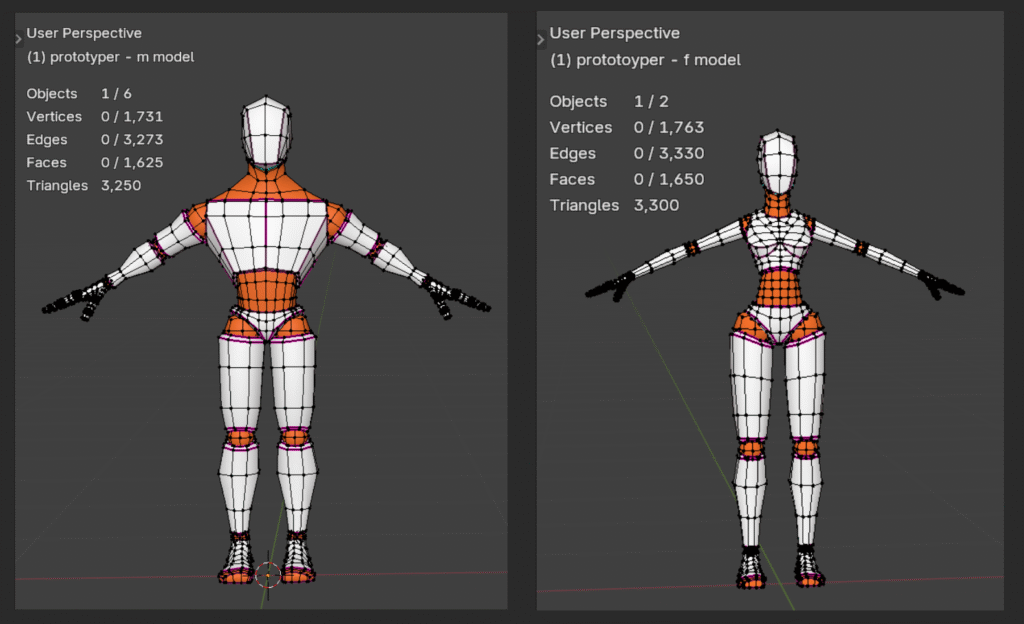
The Kinematic Tool comes with four pre-rigged character models: a single-leg Uniped, a two-legged Biped, and two character models: Prototypers M & F
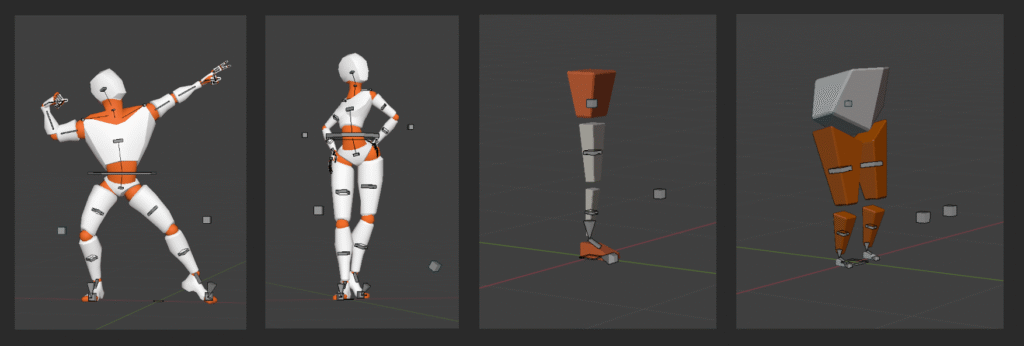
Rigged and ready to animate! Comes with the Kinematic Tool.
Want to read about all the features?
(Such as FK to IK batch alignment; the built-in follow-rotation operator; automatic system keyframe interpolation; deformation bone motion path calculator; automatic motion path updating; and standalone follow-rotation rigging…)
—> Check out the User Manual
The User Manual is also included in the Kinematic Tool .zip file
VERSIONING
The current release is Kinematic Tool v2.0.5 beta (released December 1, 2025), available for Blender versions 4.0 to 5.0. The Kinematic Tool has been developed and refined since 2022.
Latest release video:
WORTH NOTING (before you buy)
The Kinematic Tool currently does not support linking (when designing it, I had hardly used the linking system – some pose mode operators currently dip into edit mode). Fixing this is the highest priority for the next release. If you don’t currently use linking in your workflow, you’re all set. If you rely on linking, wait until the next version release (likely v2.1).
Also: the character models appear to be working fine in Blender 5.0, but I have not yet heavily tested them in Blender 5.0 with Kinematic Tool v2.0.5. Testing and confirming these models’ functionality in Blender 4.4, 4.5, & 5.0 is part of the Kinematic Tool v2.0.5 beta testing.
Did you purchase the tool through Gumroad or Superhive?
…and you want to continue the journey? I’d love to have you!
—> Watch this video for instructions on getting a 100% off discount code.
LICENSING
The Kinematic Tool and the pre-rigged models that come with purchase are licensed for any commercial use (such as for games or animation) except resale and merchandising. Please purchase a single copy per studio seat.
Ready to take control of IK/FK switching?
Notice I’m NOT snapping FK to IK manually!
The snapping delay speed is set to ~0.25 seconds here. Default is now at 0.01 seconds.
Welcome to hyperspeed.
Do you see now? We’ve entered a new world of control.
Sliding, floating feet are so a thing of the past.
A fun little jump like this is so much easier to produce with the Kinematic Tool.
No need to deal with all the extra noise in the viewport from inactive kinematic chains.
In other words: you are always aware of which kinematic chain to select and work with.
Location (translation) of the IK chain is controlled by the lower Location bone. Rotation of the IK chain is controlled by the triangular Pivot bone. In order to change the point of pivot, the Pivot bone moves relative to the foot end bone, so relies on the Location bone to handle translation.
Man, feels good to have control over those IK/FK switches!
I’ve been practicing simple, clean animations lately.
Notice the change of bones on the leg. When in the air: FK. When on the ground: IK.
You get the point!
The last moment the foot is in contact with the ground is actually IK and the final keyframe of an IK range.
Notice how much cleaner the timeline is when you don’t have to mash FK/IK keyframes next to each other to end an IK range.
eat healthy
move your body
love your family
help your community
make allies, not enemies
add value to others’ lives
lead creatively
and create like none before